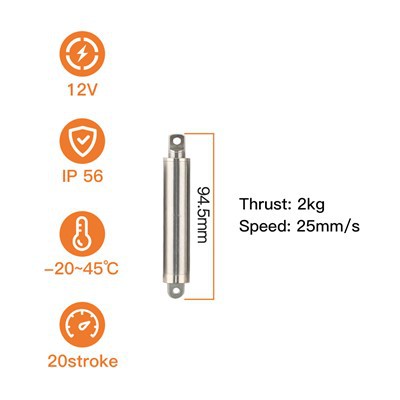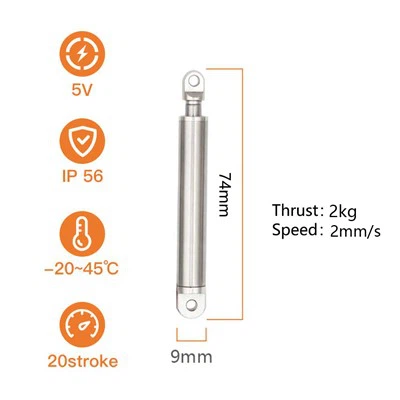
Hey there! I'm a supplier of Tiny Linear Actuators, and today I'm gonna walk you through the process of installing one. Whether you're a DIY enthusiast or a professional in the industry, this guide will help you get your tiny linear actuator up and running smoothly.
What is a Tiny Linear Actuator?
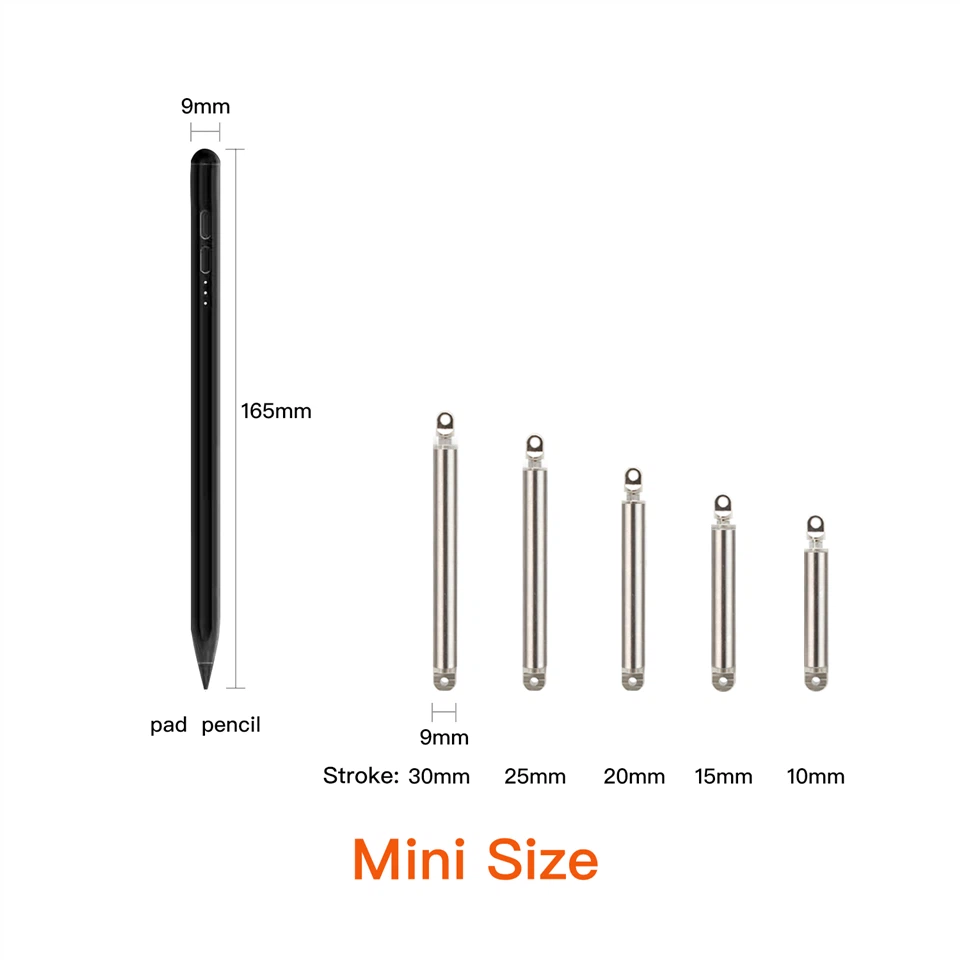
Before we dive into the installation process, let's quickly go over what a tiny linear actuator is. A linear actuator is a device that converts rotational motion into linear motion. It's used in a wide range of applications, from robotics and automation to medical equipment and automotive systems. A tiny linear actuator, as the name suggests, is a smaller version of a standard linear actuator. It's perfect for applications where space is limited or where you need a more precise and controlled movement.
You can check out our Tiny Linear Actuator product page to see the different models we offer and their specifications.
Tools and Materials You'll Need
To install a tiny linear actuator, you'll need the following tools and materials:
- Screwdriver: Depending on the type of screws used to mount the actuator, you'll need either a Phillips or flathead screwdriver.
- Wrenches: You may need a set of wrenches to tighten any nuts or bolts.
- Drill: If you need to create holes for mounting the actuator, you'll need a drill.
- Mounting Hardware: This includes screws, nuts, bolts, and washers. Make sure you have the right size and type of hardware for your actuator and the surface you're mounting it on.
- Electrical Connectors: You'll need to connect the actuator to a power source and a control system. Make sure you have the right type of electrical connectors for your actuator and the power source.
Step 1: Choose the Right Location
The first step in installing a tiny linear actuator is to choose the right location. You need to make sure that the location is suitable for the application and that there is enough space for the actuator to move freely. Here are some things to consider when choosing a location:
- Accessibility: Make sure the location is easily accessible for maintenance and repairs.
- Stability: The surface you're mounting the actuator on should be stable and able to support the weight of the actuator and any load it will be carrying.
- Clearance: Make sure there is enough clearance around the actuator for it to move freely without hitting any obstacles.
- Environment: Consider the environment where the actuator will be installed. If it will be exposed to dust, moisture, or other contaminants, you may need to choose an actuator that is designed for harsh environments.
Step 2: Mount the Actuator
Once you've chosen the right location, it's time to mount the actuator. Here's how to do it:
- Mark the Mounting Holes: Use a pencil or marker to mark the location of the mounting holes on the surface where you'll be mounting the actuator.
- Drill the Holes: If you need to create holes for mounting the actuator, use a drill to drill the holes at the marked locations. Make sure the holes are the right size for the screws or bolts you'll be using.
- Attach the Mounting Bracket: If your actuator comes with a mounting bracket, attach it to the actuator using the screws or bolts provided. Make sure the bracket is securely attached to the actuator.
- Mount the Actuator: Place the actuator on the surface where you'll be mounting it and align the mounting holes on the actuator with the holes you drilled. Insert the screws or bolts through the holes and tighten them using a screwdriver or wrench. Make sure the actuator is securely mounted to the surface.
Step 3: Connect the Electrical Wires
After you've mounted the actuator, it's time to connect the electrical wires. Here's how to do it:
- Identify the Wires: The actuator will have two or more electrical wires that need to be connected to a power source and a control system. Make sure you identify the wires correctly before you start connecting them.
- Connect the Power Wires: Connect the power wires to the power source. Make sure you use the right type of electrical connectors and that the wires are securely connected.
- Connect the Control Wires: Connect the control wires to the control system. The control system can be a simple switch or a more complex controller. Make sure you follow the instructions provided with the control system to connect the wires correctly.
- Test the Connection: Once you've connected the electrical wires, test the connection by turning on the power source and the control system. Make sure the actuator moves smoothly and that there are no electrical problems.
Step 4: Calibrate the Actuator
After you've connected the electrical wires, it's time to calibrate the actuator. Calibration is the process of adjusting the actuator to ensure that it moves to the correct position and that it has the right amount of force. Here's how to do it:
- Set the Stroke Length: The stroke length is the distance that the actuator can move. You need to set the stroke length to the desired value. Most actuators have a limit switch or a potentiometer that can be used to set the stroke length.
- Adjust the Force: The force is the amount of power that the actuator can generate. You need to adjust the force to the desired value. Most actuators have a force adjustment screw or a potentiometer that can be used to adjust the force.
- Test the Actuator: Once you've set the stroke length and adjusted the force, test the actuator by moving it to different positions. Make sure the actuator moves smoothly and that it has the right amount of force.
Step 5: Test the System
After you've calibrated the actuator, it's time to test the system. Here's how to do it:
- Turn on the Power Source: Turn on the power source and the control system.
- Move the Actuator: Use the control system to move the actuator to different positions. Make sure the actuator moves smoothly and that it has the right amount of force.
- Check for Any Problems: Check for any problems, such as unusual noises, vibrations, or electrical problems. If you find any problems, stop the system immediately and troubleshoot the problem.
Tips and Tricks
Here are some tips and tricks to help you install a tiny linear actuator:
- Read the Instructions: Before you start installing the actuator, make sure you read the instructions provided with the actuator. The instructions will provide you with important information about the installation process and the specifications of the actuator.
- Use the Right Tools: Make sure you use the right tools for the installation process. Using the wrong tools can damage the actuator or cause it to malfunction.
- Be Careful with the Electrical Wires: Make sure you're careful when handling the electrical wires. Electrical wires can be dangerous if they're not handled properly.
- Test the System Regularly: After you've installed the actuator, test the system regularly to make sure it's working properly. Regular testing can help you identify any problems before they become serious.
Conclusion
Installing a tiny linear actuator is a relatively simple process that can be done by anyone with basic DIY skills. By following the steps outlined in this guide, you can install a tiny linear actuator in no time. If you have any questions or need further assistance, please don't hesitate to contact us. We're a leading supplier of Tiny Linear Actuators and we're here to help you with all your actuator needs.
If you're interested in purchasing a tiny linear actuator or have any questions about our products, please feel free to reach out to us. We're always happy to discuss your requirements and help you find the right solution for your application. Whether you need a Fast Linear Actuator for high-speed applications or a Linear Actuator Control system for precise control, we've got you covered.

References
- Manufacturer's instructions for the tiny linear actuator
- Industry standards and best practices for linear actuator installation